Material Research
Why Incoming Leather Inspection Decides the Wallet, Not the Cutting Table
Published on Oct 7, 2026
The short answer
Incoming inspection, not cutting, decides the yield on a genuine leather order. Grain, temper and recovery under the hand are the three checks that separate an acceptable lot from a claim before a single panel is cut. Buyers who put leather type, thickness range, grain expectation and a physical colour reference on the spec sheet get fewer surprises at final inspection than buyers who approve a swatch alone.
Why inspection starts at the rack, not the cutting table
A defect in the hide exists before the hide reaches the factory. Scratches on the grain, loose fibre in the neck and belly, and thickness that drifts across the back are set by the tannery and by the raw skin — not by the cutter. Once panels are cut, the only remaining question is how many sets are scrapped.
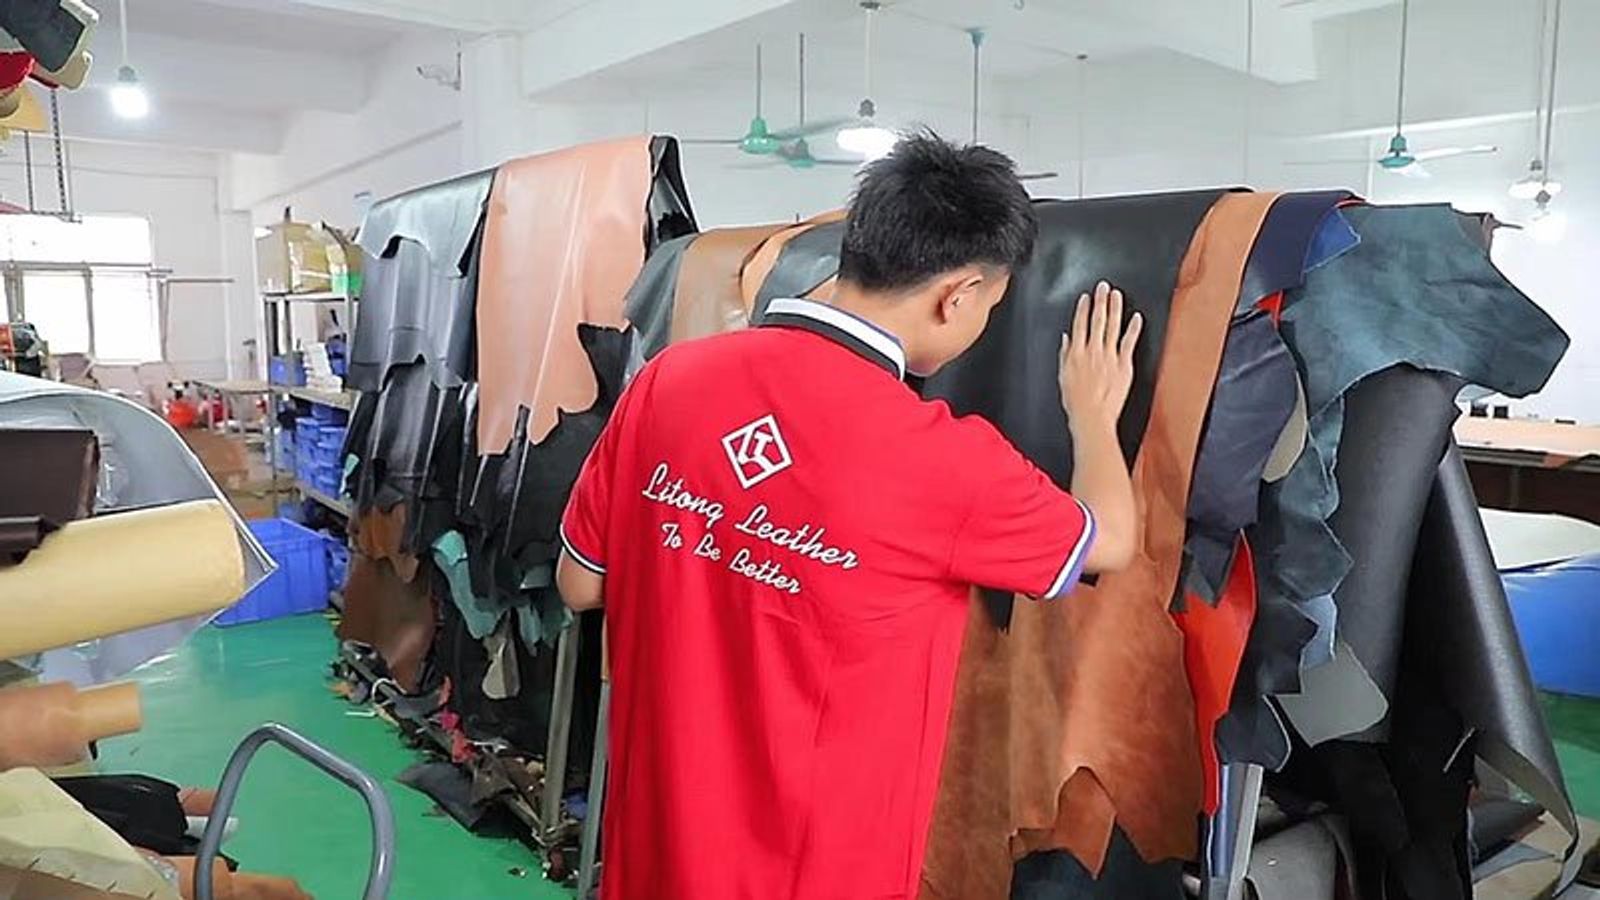
That is why a hide is examined while it hangs. On the rack, grain direction and thickness variation from rump to shoulder are visible in one pass. Full-grain cowhide is generally tighter along the spine and looser toward the belly; a nesting plan that ignores this shows up later as wrinkled folds at the edge of a wallet or a card holder.
- Look across the whole hide for grain damage, scratches and brand marks, then look again at the neck and belly, where the fibre is loosest.
- Touch several zones, not one. Rump and belly rarely share the same thickness or the same firmness.
- Fold a corner and release it. Full-grain leather typically springs back with a soft mark; a heavy corrected grain or coated split tends to hold the crease and show a pale line.
A hide that fails any one of these steps is graded down or returned before it can be nested into a production run.
What the hand test reveals that the eye cannot
The eye finds surface faults. The hand finds structure. In a normal bench check, a thumb presses into the grain and the inspector watches how the surface recovers — a springy, even response usually means intact fibre, while a dead or uneven one tends to crack at a folded edge or tear at a stitch line under tension.
The same motion applies to a finished piece on the sample table. Press the outer panel of a folded wallet and watch the edge line. If the fold crowns or the stitch line ripples, the leather's thickness or temper does not suit that construction — the fault is not in the sewing machine.
- Sight: grain pattern, dye consistency, surface finish, visible scarring.
- Touch: warmth and softness under the palm, and whether it feels dry or slightly waxy.
- Fold and knead: press the piece in half, then in half again, and watch the surface recover.
- Smell: a light, clean leather note is normal; a strong chemical solvent smell may point to a heavy finish or an unstable coating.
None of these steps needs a laboratory. They need a trained hand and a fixed sequence, applied to every lot rather than to the first delivery.
Reading a finished wallet back to its leather
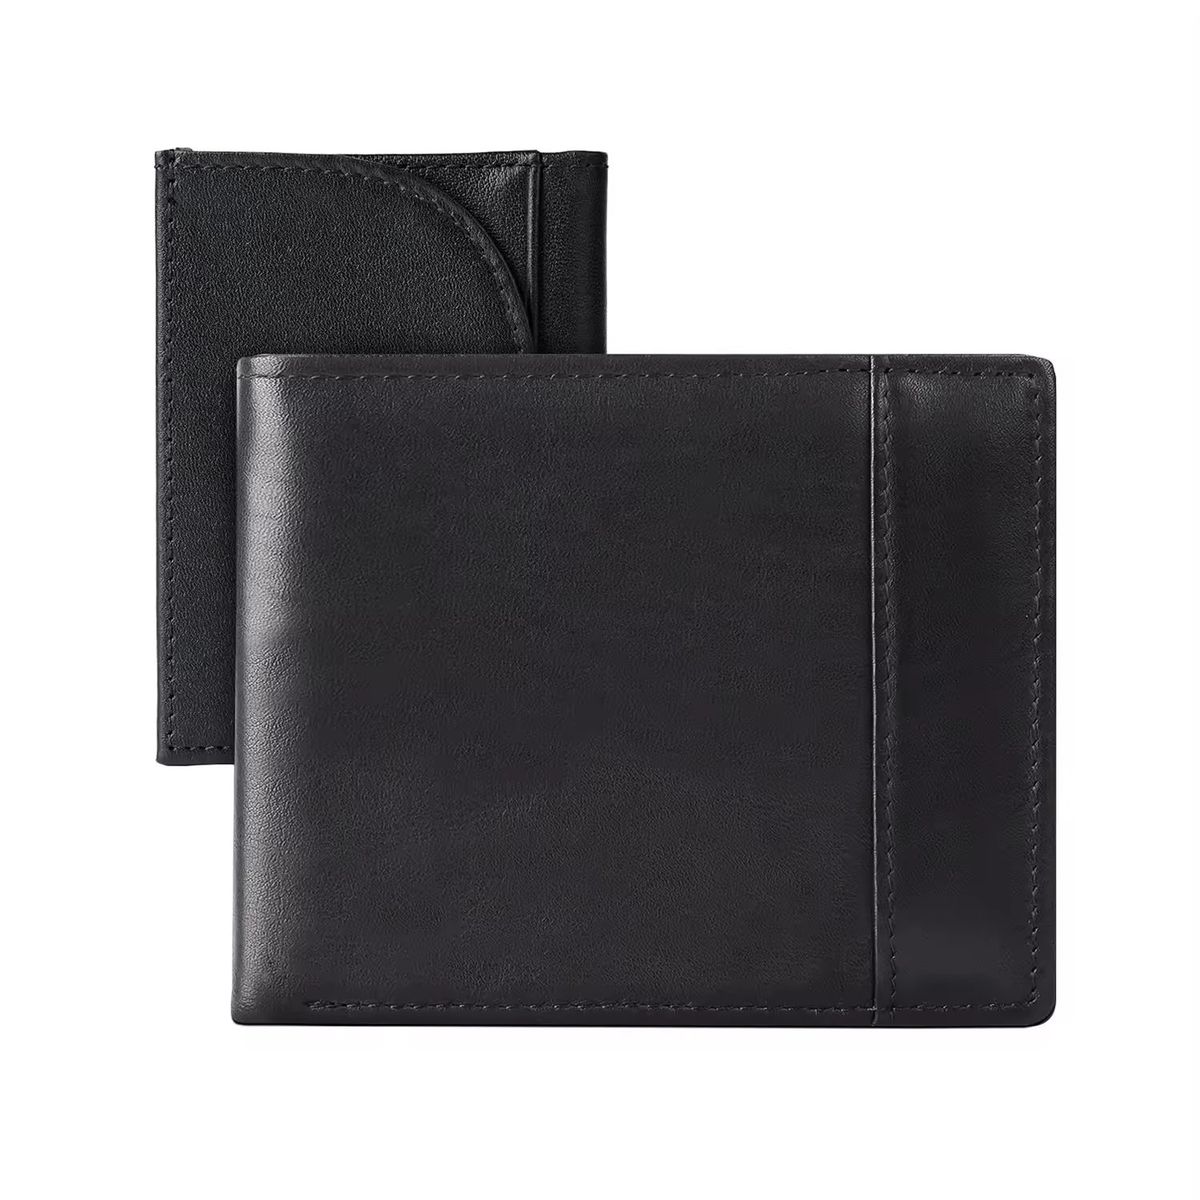
A flat small leather good exposes the material it was built from. Take a black bifold on the sample bench: the outer panel is turned and stitched around its perimeter, and the edge line stays even with no puckering along the curve. That usually means the panel was skived to suit the fold, not simply doubled over and pressed flat.
Look along the perimeter stitching. Tension is even, and the needle holes have closed around the thread rather than gaping — leather that stretches under the needle tends to leave open holes and wandering stitch lines. At the centre seam where the outer panel meets the inner, there is no visible pull at the crease.
- Edge treatment: a painted or folded edge that stays neat around a curve indicates the right thickness and the right skiving.
- Stitch field: even spacing, no skipped stitches, no needle cuts on the grain side.
- Surface: a low sheen that follows the grain is normal; a uniform mirror gloss across the whole panel usually means a heavy coating rather than the leather itself.
- Interior: lining should sit flat, with no glue bleed and no ripples along the seam.
For a buyer, this is the practical way to trace a finished sample back to the hide it came from — and to ask the right question when it does not hold up.
What belongs on the spec sheet before the PO
Most disputes at final inspection trace back to a specification that was agreed verbally. Written down, the same points take ten minutes and remove the argument.
- Leather type: full-grain, top-grain, split, microfibre, PU or PVC.
- Thickness range by zone, not one number, since back, shoulder and belly rarely match.
- Grain expectation: natural grain, lightly corrected, printed or embossed.
- Colour reference: a physical swatch or a Pantone TCX code, plus the lighting condition used to match it.
- Edge finish: folded, painted, or raw; paint colour and number of coats if painted.
- Hardware: metal, plating, logo method, and whether the pull or plate is stock or custom-tooled.
A spec sheet that lists these six items gives any factory the same starting line, and gives the buyer a fixed reference at inspection.
Frequently asked questions
How is the MOQ set for a custom leather wallet?
MOQ moves with the leather, the hardware and the packaging. A stock cowhide and a standard zip pull carry a lower floor than a custom-tooled die-cast plate or a specific tannery colour, because the tooling and the minimum dye lot have to be amortised. Quantity tiers also matter, since cut, skive and edge-paint setups carry a fixed cost per run. Send the spec sheet — leather type, hardware, logo method and target quantity — and we quote against it rather than against a generic number.
How long does sampling take, and what moves the date?
Sampling time depends on three things: whether the pattern is confirmed, whether the leather is in stock at the tannery, and whether the hardware is stock or custom. A pattern built from an existing block with available leather and stock hardware moves quickly; a new die-cast plate or a custom dye lot adds a separate lead time that runs in parallel, not in series. Buyers get an accurate date by sending the pattern and the material confirmation together, not one after the other.
How much colour difference is normal between the swatch and the bulk leather?
Some variation is normal, especially across dye lots and across grain types. A smooth-grain cowhide and a pebbled finish can read differently under the same light even when the recipe is the same. The workable control is a signed colour standard kept at the tannery, a pre-production sample checked against it under a fixed light source — typically daylight or D65 — and a rule for what counts as acceptable contrast rather than a single hex value.
Before the order is placed
Put leather type, thickness, hardware and edge finish in writing, then ask the factory to quote and sample against that sheet rather than against a photograph. A pre-production sample checked against the signed colour standard is the step that prevents most final-inspection disputes. Our process for sampling and bulk is set out under OEM/ODM services, and further material benchmarks sit in the Material Research archive.